Vomit drivers can be said to be used in our daily life. But many people don't know how to clean the vomit driver. Even after so many years of use, we still don't know how to use the vomit driver correctly. As a friend once said, his vomit driver has been used for a long time and has not been washed. Sometimes I want to try to clean it, but I can't do it at all. This is how the life expectancy of vomiting drivers is reduced little by little. So is the puke driver really that hard to clean?
Before knowing how to clean a toaster, it is necessary to know how to use it.
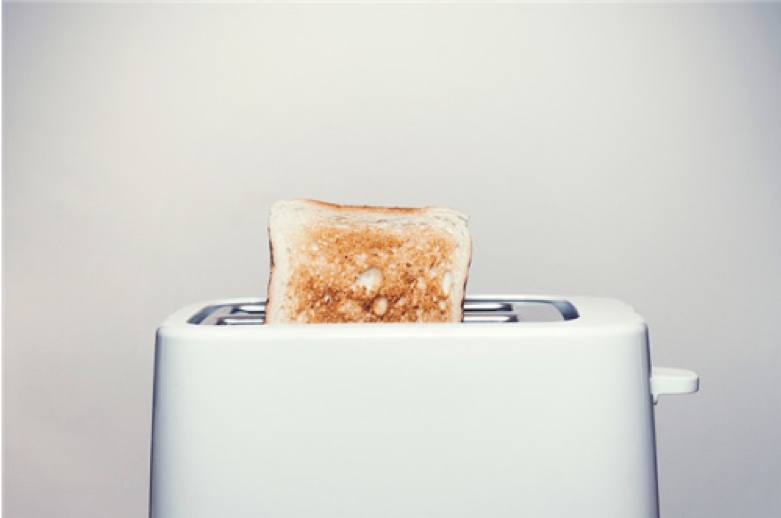
1. Use the toaster on a flat, clean, fixed surface.
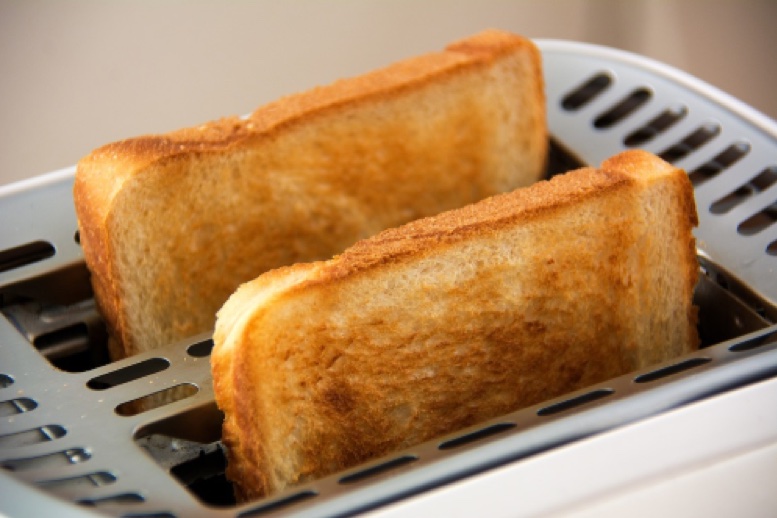
2. Turn on the power and press the "switch" function key. Place the "bread color controller" in the "1-2" file. After 60 seconds, you can get a very delicious piece of toast.
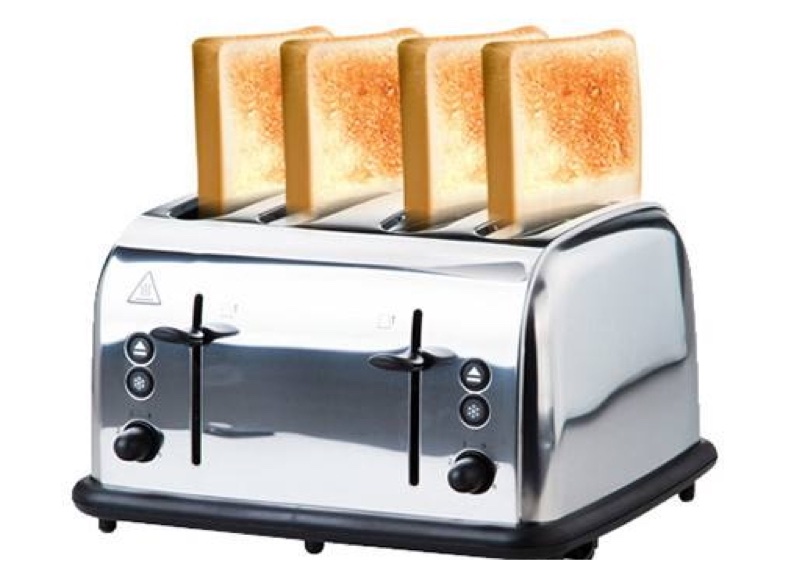
3. After selecting the baking degree, put the bread into any slot. Press the switch function key.
4. Once the selected baking level is reached, the bread will pop up automatically.
5. If you don't want to eat toast, just press the cancel button to stop baking.
6. If the bread is stuck, be sure to turn off the power before taking it out. Never use metal to remove a piece of bread with electricity.
7. "1"-"7" means that the baking color of the bread changes from light to strong.
8. Please clean up the debris in time after use.
How to clean the vomit driver after using it?
1.Tools: dishcloth (or napkin), toothbrush (or barbecue brush), white vinegar, baking soda powder, newspaper. Make sure the toaster is unplugged and completely cooled before cleaning. Move the machine to the flow table next to the sink. You can first spread the old newspaper on the flow table, and it will be more convenient to clean up.
2. It is recommended to clean 2 or 3 times a week. Otherwise, excessive accumulation of food residue will be more difficult to clean up. And even affect the operation of vomiting drivers. Gently brush the iron mesh and corners from top to bottom with a clean toothbrush. Sweep away the fine shavings and the residue glued to the wall. Then the crumb tray at the bottom is pulled out. And the accumulated crumbs are poured out. Wash the crumb plate with a little baking soda and warm water. Rinse thoroughly and dry thoroughly with a paper towel.
3. Put the toaster upside down on top of the trash can or sink. Gently pat and shake the machine to remove bread crumbs stuck inside.
4. If there is scorched dirt on the surface of the vomiting driver. You can make a self-made cleaning agent. Use baking soda and a little water to make a paste and brush with a toothbrush. Then wipe it off with a rag. Finally, wipe the outside and handle with a wet dishcloth. Wipe with an appropriate amount of white vinegar, you can remove greasy. And restore bright and clean as new.
5. Finally, put back the completely dry crumb tray. Leave the toaster in a ventilated place until dry. If you are in a hurry, you can dry the interior with a hair dryer. Remember that it must be completely dry before it can be plugged in!
If you want to prolong the service life of the vomiting driver, you must be able to maintain it. For example, the vomiting driver can't accept all the bread. Like the bread with cream. If you don't need a toaster for a long time, the toaster can put it in a laundry bag with small holes. It can not only avoid the invasion of cockroaches, but also maintain ventilation. And remember, never put it backwards. After reading the relevant knowledge of these toasters, is it clear how to clean them?